Automated tests (CI/CD) in Smartdust Lab
The purpose of this tutorial is to demonstrate how Smartdust CLI client can be utilized in a typical CI/CD cycle of mobile app development.
The project described in this tutorial is available on Github.
About Smartdust CLI client
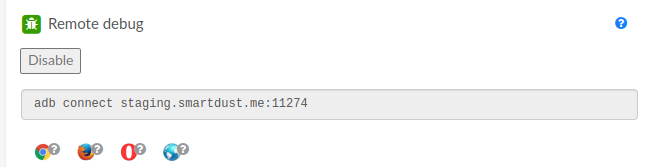
Smartdust CLI client is a tool that provides a command line (non-graphical) interface to connect to devices in a Smartdust Lab. More specifically, it works analogously to the “Remote Debug” functionality on Device Dashboard (see picture below) to connect to a device via ADB, but does so automatically.
That means, it can be easily used for connecting to devices automatically in scripts and, for example, automatic testing pipelines can be created. To familiarize yourself with the tool, please refer to its documentation.
What we’re going to do
In this tutorial, the popular CI/CD platform Jenkins will be utilized for creating a build-test pipeline for a mobile app. The testing part will use the Smartdust CLI client to connect to devices on a Smartdust Lab instance and execute instrumentation tests on them. In terms of architecture, only one server running Jenkins and Docker will be used. A handy Docker container built for Android development will serve as our building environment: https://hub.docker.com/r/mingc/android-build-box/. To use it for test execution, integrating the Smartdust CLI client into the container will be necessary.
Prerequisites
- Machine running a modern Linux OS
Installing and running Jenkins and Docker
Install Docker in your OS following the relevant instructions:
https://docs.docker.com/engine/install/
Follow the official Jenkins documentation to install it on your machine of choice:
https://www.jenkins.io/doc/book/installing/linux/. Then follow the instructions to get Jenkins up and running.
In most cases, you should be able to reach the Jenkins web interface from your web browser at the address: [MACHINE_IP_ADDRESS]:8080.
If you access Jenkins from the same machine, that will be localhost:8080. Go through the initialization wizard.
If something goes wrong at that point, look into the official Jenkins docs or other available online resources.
Jenkins Pipeline creation
In the main Dashboard in the jenkins web interface select "New item". A creation wizard will appear.
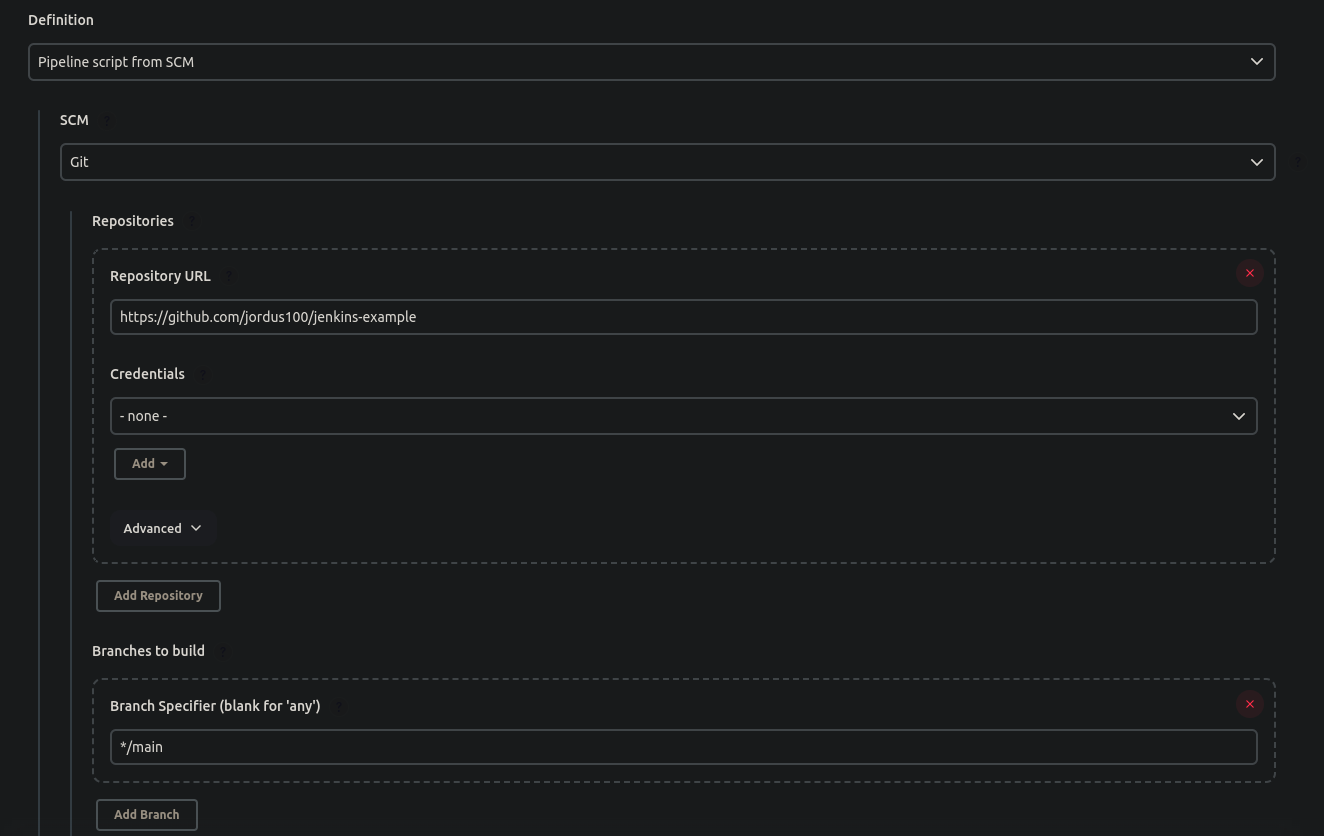
Enter the name of your project, e.g "smart pipe". Select the "Pipeline" type of item. A configuration page will be displayed. If not, enter your newly created Pipeline and select "Configure" from the menu on the left.
You can chose your own app if you know what you;re doing beacuse it might require some manual adjustments to the configuration of both Pipeline and you app.
- Set "Script Path" to "Jenkinsfile" (or your custom location if you use your own app).
Prepare the Docker container for building and testing
As previously mentioned a ready-made container for Android development will be used - https://hub.docker.com/r/mingc/android-build-box/. However, we do need to modify it to include the Smartdust CLI client and its configuration in it.
Enter your terminal
Download the container:
docker pull mingc/android-build-boxEnter the container's terminal:
docker run --user root -it mingc/android-build-box bash -l
Now, staying in the virtual machine's terminal, follow the instructions of installing and using the Smartdust CLI client from its documentation. Create your access token in your Smartdust Lab and make a test connection via the tool as described in the tutorial. Add the ADB key when prompted in the Smartdust Lab web interface during making the first connection. That will be your docker container’s ADB key.
Right after all of the above steps, you need to exit your docker container without killing it OR open another terminal tab.
Run “docker ps” command to check if your container is still running. It should look something like this:

Copy the
CONTAINER IDfield (leftmost)Save the Docker container’s state under a new name, e.g. docker commit
[CONTAINER ID] mingc/android-build-box-smartdust
Congratulations! Now we’ve customized a Docker container to our own needs. Well actually, the more proper way to do it would be to modify its Dockerfile and build it all over again but this is good enough for now.
Edit your Jenkinsfile
Jenkinsfile is a file type used for defining Pipelines in Jenkins. For more info see: https://www.jenkins.io/doc/book/pipeline/jenkinsfile/.
The Jenkinsfile showed here and available on Github is supposed to serve as starting point for extension for your own usage. However, you might want to use a completely different configuration, there are lots of possibilities.
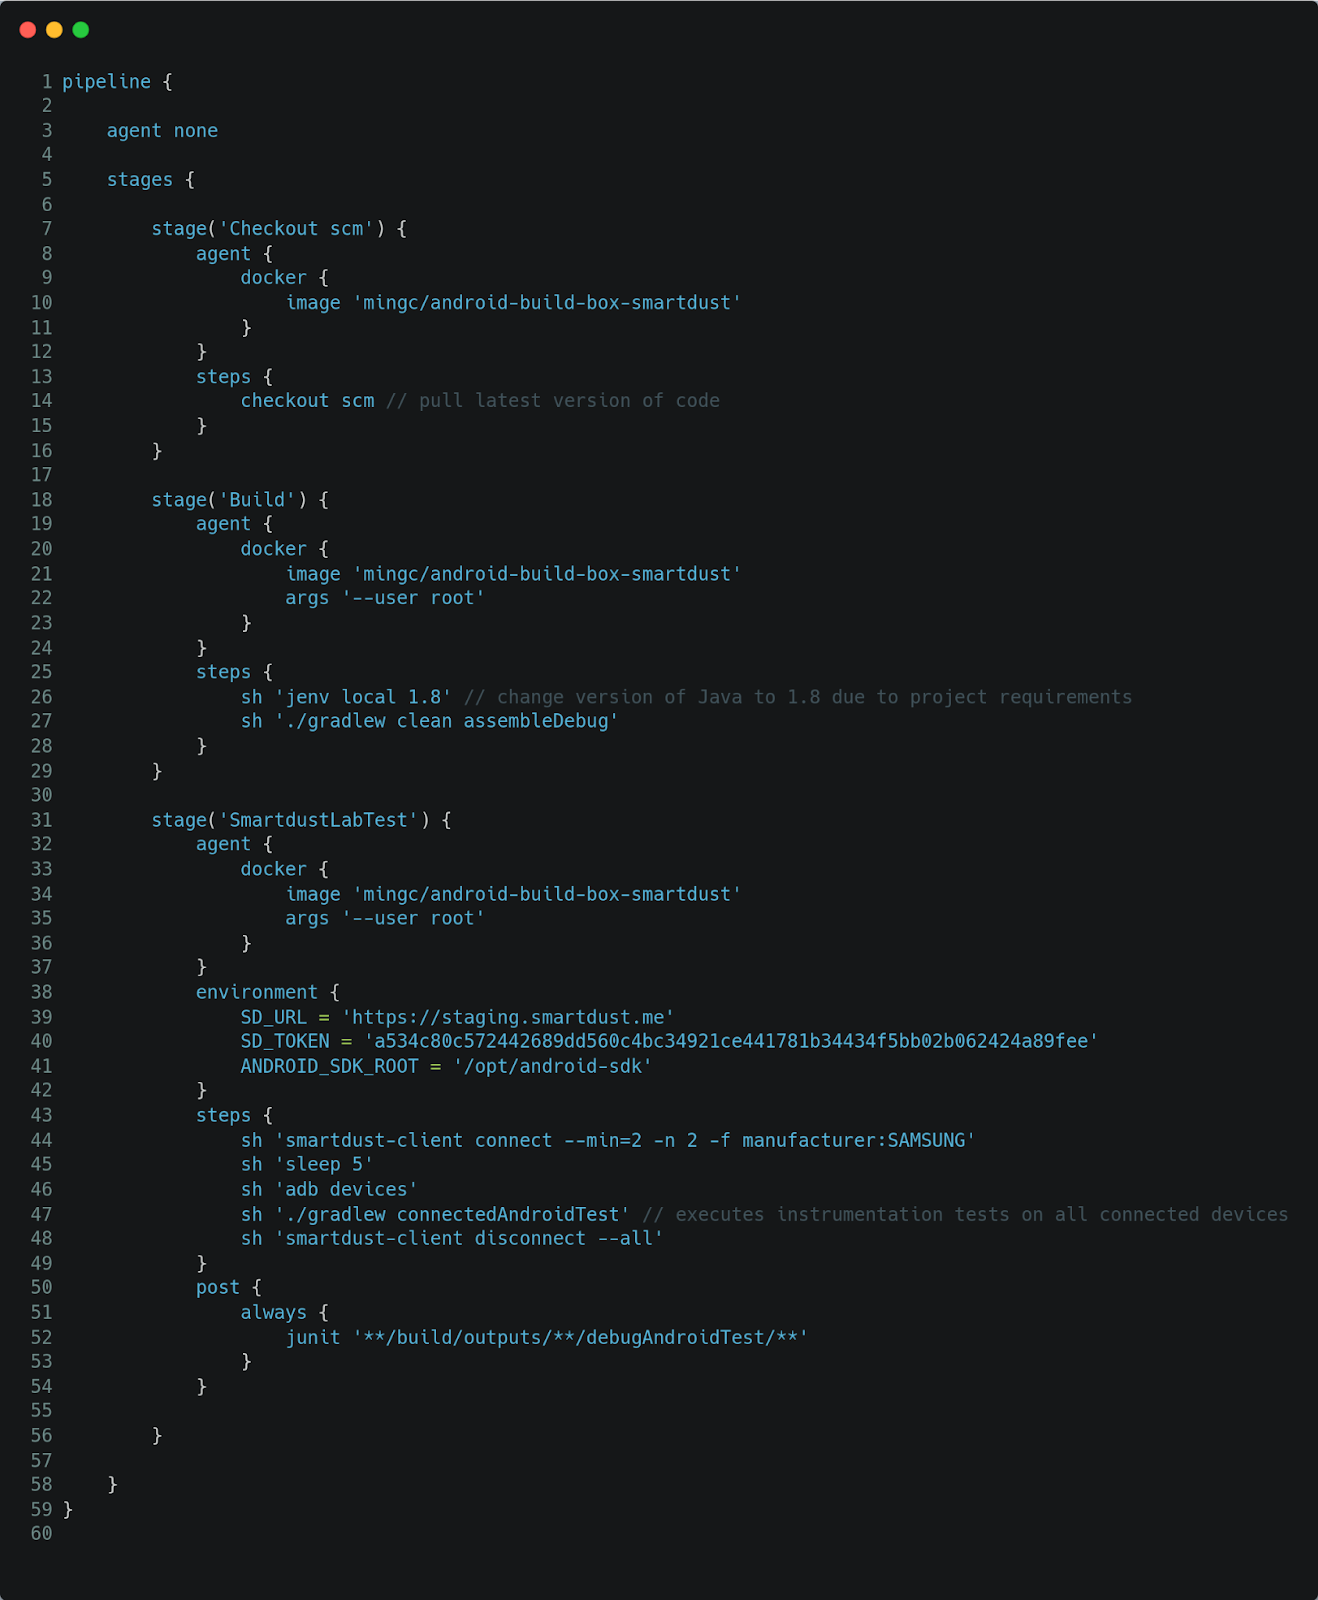
Don’t forget to change the SD_URL and SD_TOKEN environment variables (lines 39-40) to your own!
Jenkins Pipeline steps work in such a way that all the project files generated e.g. executables are moved to the agent used in the next stage. This file resides in the project’s git repository and in my case in the top directory. You may have/want to configure some things in the mingc/android-build-box Docker container. Read the instructions at https://hub.docker.com/r/mingc/android-build-box/. The things that you might have to change include:
- Changing the java version - like in line 26
Running the pipeline in Jenkins
From the main dashboard, click on the name of your pipeline. Then, in the left side menu click on “Build”. The execution progress bar should start moving. It takes a while, about 5 minutes. In case of errors, read the console output logs. There might be something to correct in your Gradle and Android project configuration or in the settings of the Docker container.