Parallel testing Android apps using a remote testing platform and Appium
In my previous article I showed how to set up and use Appium for running tests on mobile devices in Android Studio. It is highly recommended to at least skim through it in order to understand this tutorial. Because today, we are going to take it to the next level — running tests on multiple devices simultaneously.
Android app development is peculiar in its nature due to a phenomenon called Android fragmentation. The number of different modifications of the Android OS poses a threat to their interoperability which is a source of pain for developers. Additionally, the number of different hardware configurations of the phones on the market is hard to track. If that isn’t enough, many phone users run quite outdated OS’s which forces app publishers to take a more conservative approach when adding new features to their products.

All that combined means that in order to ensure a proper user experience, the released builds have to be thoroughly tested against a number of devices and OS configurations, the more, the better. And that’s where tools like Appium and remote testing platforms step in and shine.
How to run parallel tests using Appium
- Follow the steps from my previous tutorial. You should be able to successfully run an Appium test on a local Android device or an emulator.
- Modify the AppiumTest.kt file from my previous tutorial, parametrizing the setUp method using a special TestNg annotation. Just like this, remember about setting the constants and “element_id” to your custom values.
import io.appium.java_client.android.AndroidDriver
import kotlinx.coroutines.delay
import kotlinx.coroutines.runBlocking
import org.testng.annotations.BeforeTest
import org.openqa.selenium.remote.DesiredCapabilities
import org.testng.annotations.AfterTest
import org.testng.annotations.Test
import java.net.URL

const val ADB_DEVICE_UID = "adb_device_uid"
const val APP_PACKAGE = "xxx.app.package"
const val ACTIVITY = "main.app.activity"
const val PATH_TO_APK = "path/to/your/apk.apk"
const val APPIUM_SERVER_URL = "http://127.0.0.1:4723/wd/hub"

class AppiumTest {
    private lateinit var driver: AndroidDriver = null

    @BeforeTest
    @Parameters("deviceUID", "systemPort")
    fun setUp() {
        val desiredCapabilities = DesiredCapabilities()
        desiredCapabilities.setCapability("platformName", "Android")
        desiredCapabilities.setCapability("appium:automationName", "UiAutomator2")
        desiredCapabilities.setCapability("appium:deviceName", deviceUID)
        desiredCapabilities.setCapability(MobileCapabilityType.UDID, deviceUID)
        desiredCapabilities.setCapability("appium:appPackage", APP_PACKAGE)
        desiredCapabilities.setCapability("appium:appActivity", ACTIVITY)
        desiredCapabilities.setCapability("appium:app", PATH_TO_APK)
        desiredCapabilities.setCapability("appium:newCommandTimeout", 60)
        desiredCapabilities.setCapability("uiautomator2ServerInstallTimeout", 60000)
        desiredCapabilities.setCapability("systemPort", systemPort)
        desiredCapabilities.setCapability("adbExecTimeout", 30000)
        val remoteUrl = URL(APPIUM_SERVER_URL)
        driver = AndroidDriver(remoteUrl, desiredCapabilities)
        driver.setSetting(Setting.WAIT_FOR_IDLE_TIMEOUT, 100)
    }

    @Test
    fun sampleTest() {
        driver.findElement(By.id("element_id"))
    }

    @AfterTest
    fun tearDown() {
        driver.quit()
    }
}
- Picking a test device
For this step, I’m going to use Smart Dust Lab, which provides many test devices for free. Nevertheless, this tutorial will work for any devices connected via ADB, so you can skip this part if you’re uninterested.
Go to public.smartdust.com and sign in with one of your social media accounts or make a free account. After accepting terms and conditions, you’ll be greeted by the main panel with a range of devices to choose from.
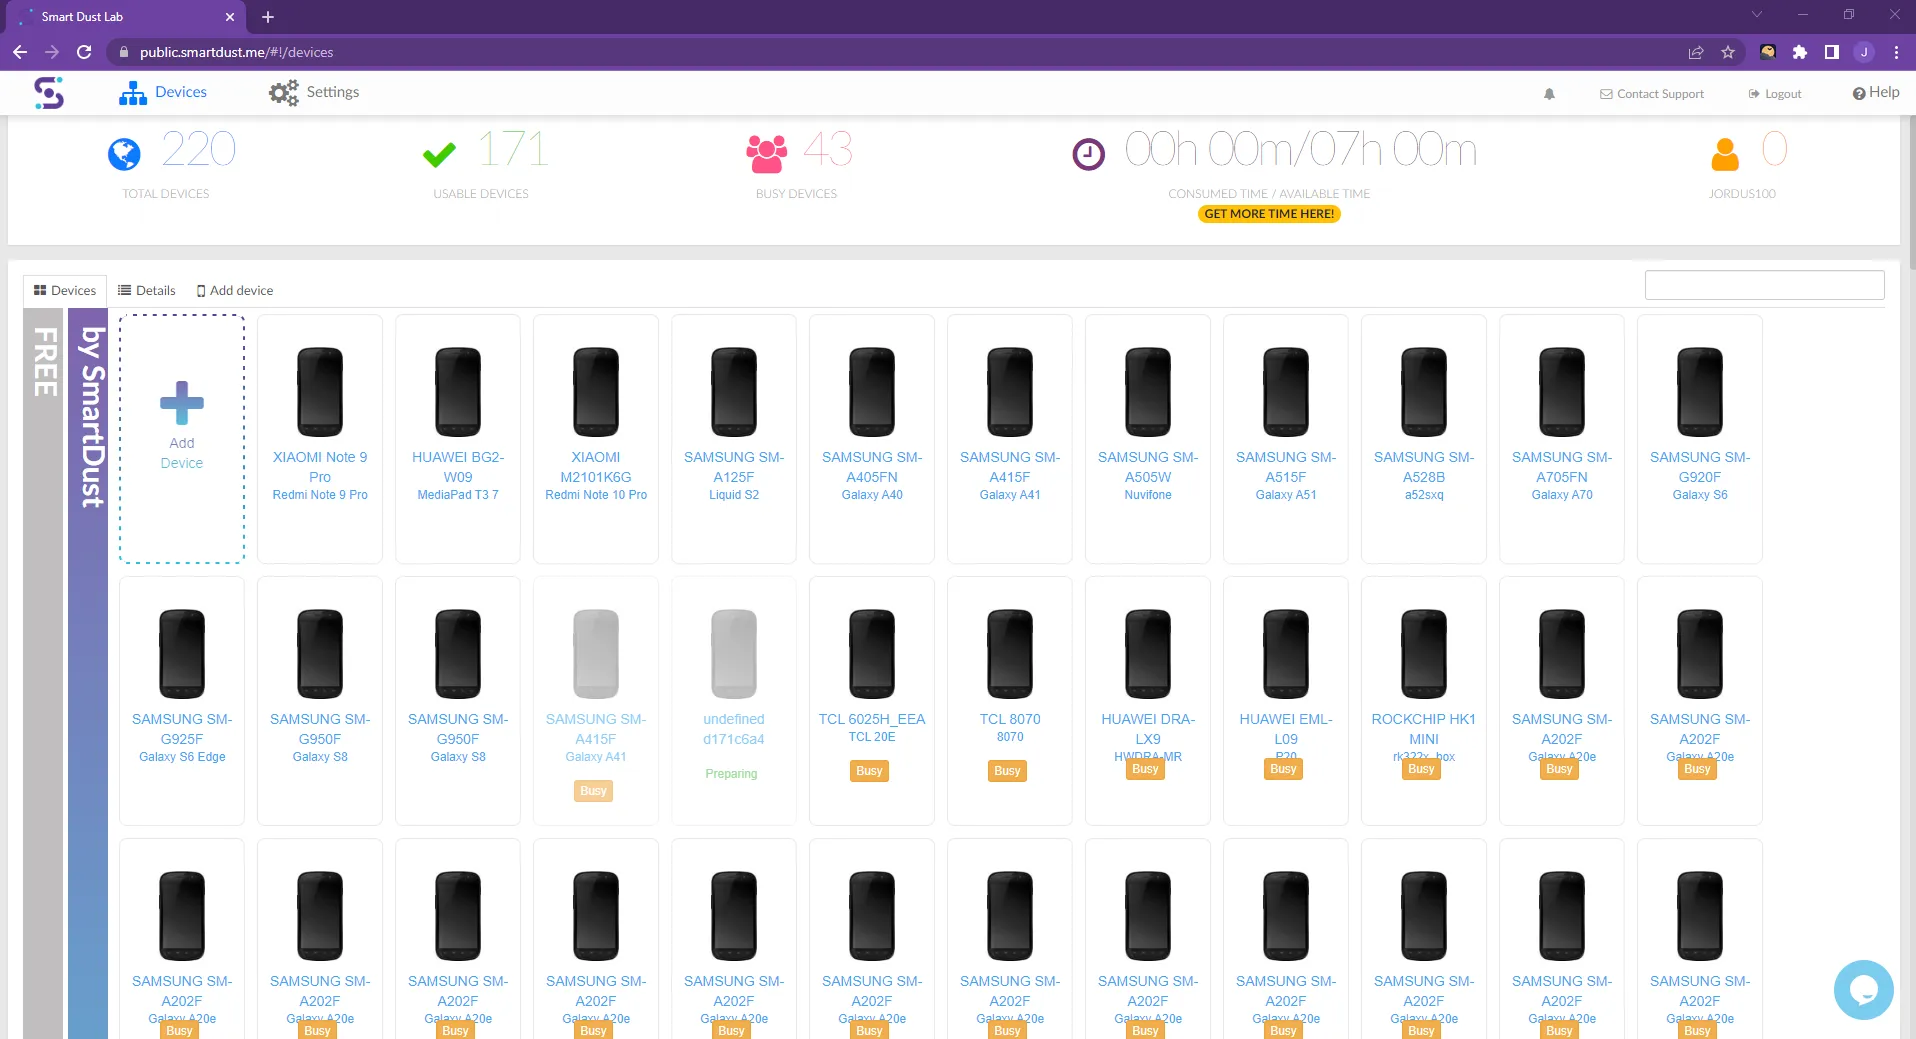
Click on one of the available, unused devices. On the left side you’ll be presented with its screen. You can interact with it using your mouse or your fingers if you’re using a touchscreen. Simply swipe to unlock. If the screen is dark, you can wake it up by clicking the “Home” button on the blue bottom bar. If for some unfortunate reason there is a password lock, go back to the main panel and choose a different device.
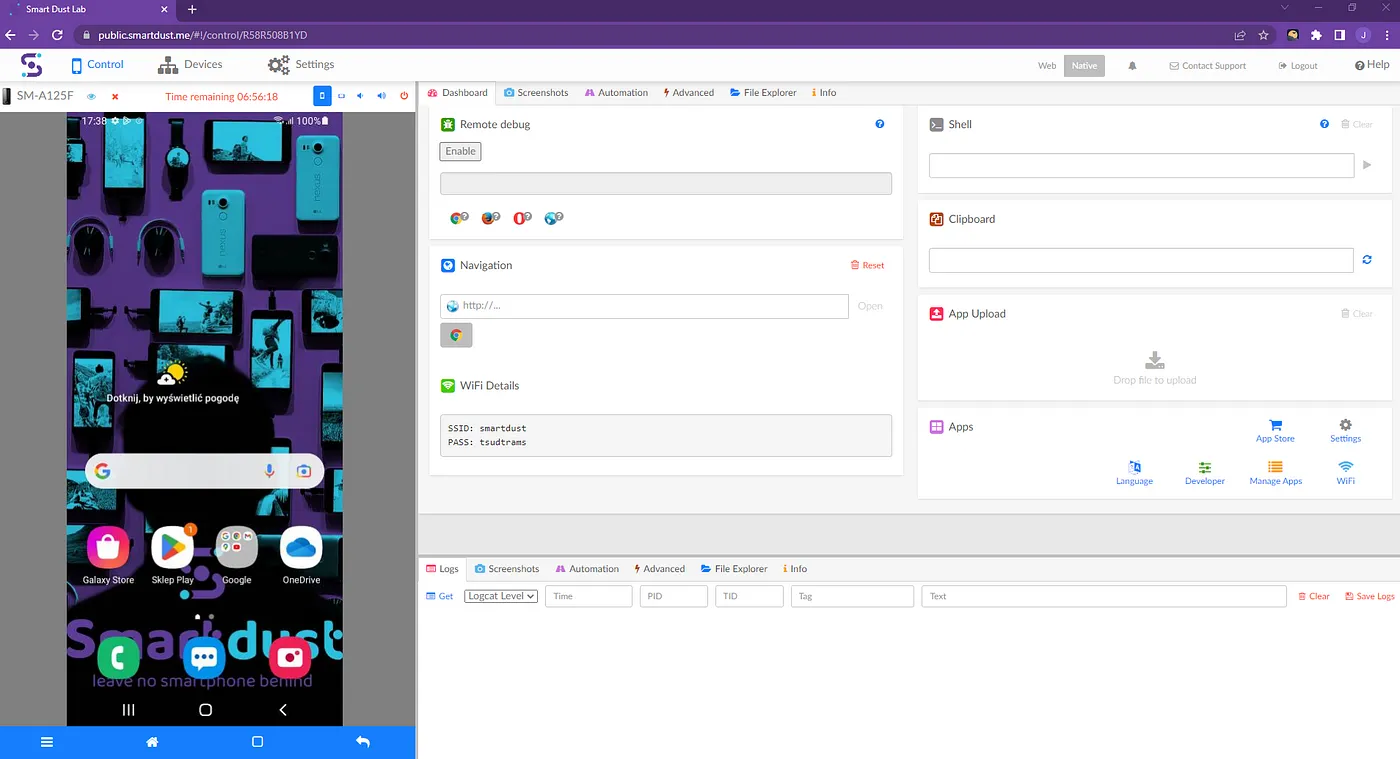
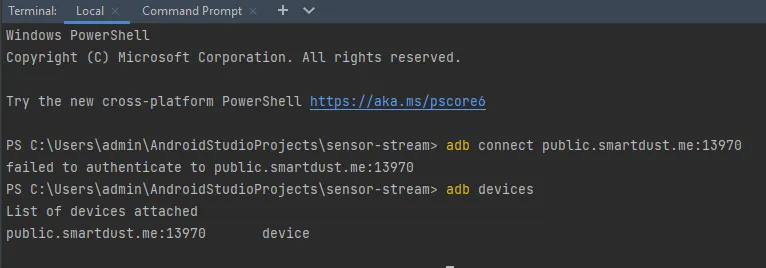
To use that device for your Appium tests, all you need to do is to click on the “Enable” button in the “Remote Debug” section — right next to the phone’s screen. An ADB command to connect to the device will be displayed in the text box — just copy it and paste it into your terminal in Android Studio (CMD, PowerShell, Linux terminal) and execute. A message saying “failed to authenticate” might appear but the device is probably already connected by now. It should now be visible in the list of connected devices — adb devices command. (I assume that after following my previous tutorial, you have ADB already installed and configured.)
Of course, in order to run parallel tests, you’re going to need more than one device. In this tutorial, I’m going to use an Android phone attached via USB to my computer.

The values on the left side are so-called Device UID’s. These are important, we’re going to need them later — of course yours will be different. On the right side however, the status of the devices is displayed. “device” means that the device is connected and ready. “offline” means it’s not. Obviously we need them to be connected, so if they go offline, you have to reconnect, repeating the steps above.
- Creating a TestNg configuration
In the same directory where your test classes reside, create a new .xml file and name it something like “ParallelTestSuite.xml”. Paste the following content:
<suite name="ParallelTestSuite" parallel="tests" thread-count="2">
    <test name="Local device">
        <parameter name="deviceUID" value="ZY227MRS44" />
        <parameter name="systemPort" value="8201" />
        <classes>
            <class name="com.example.test.AppiumParallelTest" />
        </classes>
    </test>
    <test name="Smartdust device">
        <parameter name="deviceUID" value="public.smartdust.me:13970" />
        <parameter name="systemPort" value="8202" />
        <classes>
            <class name="com.example.test.AppiumParallelTest" />
        </classes>
    </test>
</suite>
You need to replace some values:
- the value attribute of <parameter name="deviceUID" needs to be changed in both places to your relevant ADB device UID’s.
- the <class name= attribute needs to be changed in both places to point to your parallel test class you created in step 2 of this tutorial.
- Run your parallel test!
Launch the Appium server with the appium command. Make sure all your test devices are unlocked and connected via ADB. Then, right-click the newly created ParallelTestSuite.xml file and choose the “Run…” option. Watch the magic happen…
The first run might take a lot of time because of the necessity of installing some Appium dependencies on the test devices. However, with more and more devices connected and tested simultaneously, the time savings multiply.
- Troubleshooting
Follow the troubleshooting instructions from my previous article on the topic.
You might get a UiAutomator2 error saying that the port was still in use. This is due to ending the tests abruptly — for example cancelling them halfway through. Thankfully, the issue should perish in the next test run.
- Conclusion
Thank you for following through my tutorial. I hope you found it useful. If you have any weird, unsolvable issues, you can leave a comment under the article, I’ll gladly help if I can.